

Start with the Checks That Actually Cause Failures
Every year, thousands of cars across Sheffield and South Yorkshire fail their MOT on things the owner could have spotted in twenty minutes on a driveway. Brake lights, worn tyres, a smeared windscreen, a blown number plate bulb — none of these are expensive fixes, but they all add up to a failed test, a retest fee, and another trip across town.
The MOT isn't a service and it won't tell you everything about your car's health. What it does is confirm that the basics are roadworthy on the day. So the smart approach is to check those basics yourself a week or two before the test, giving you time to book any repairs properly rather than panic-booking on the morning.
Lights: The Single Biggest Source of Failures
Roughly a fifth of all MOT failures relate to lamps, so this is where to spend your time.
- Ask someone to help you work through the lot: sidelights, dipped beam, main beam, indicators, hazard lights, brake lights, reverse lights, fog lights front and rear, and both number plate lights.
- Check the headlight lenses for cracks, clouding or condensation. Yellowed plastic can often be restored with a polishing kit, but a cracked unit usually needs replacing.
- Look at the headlight aim. If you've had a bump or replaced a bulb recently, the beam pattern can end up pointing too high — an automatic fail. Most garages will check and adjust aim cheaply.
- Make sure the "tell-tale" warning lights on the dashboard work, and that none of the warning lamps for brakes, ABS or engine management are glowing.
Bulbs cost a few pounds and take minutes to swap. Do it before the test, not after.
Tyres, Wheels and the Sheffield Road Surface
The legal minimum tread depth is 1.6mm across the central three-quarters of the tyre, around its entire circumference, but don't aim for the minimum. Below 3mm, wet grip drops sharply, and Sheffield's weather is not forgiving.
- Check all four tyres plus the spare. Although the spare isn't part of the test, a space saver in poor condition is no use when you need it on the A57.
- Run your hand around each tyre looking for cuts, bulges and exposed cords. Potholes on roads like the Parkway, Penistone Road and the city's side streets cause sidewall damage that's easy to miss.
- Check pressures when the tyres are cold, using the figures on the sticker inside the driver's door or fuel flap.
- Look for uneven wear — worn inner or outer edges usually mean the wheel alignment is out, which is worth fixing before it ruins a new set of tyres.
Also check that all wheel nuts are present, and that wheels aren't badly corroded or buckled.
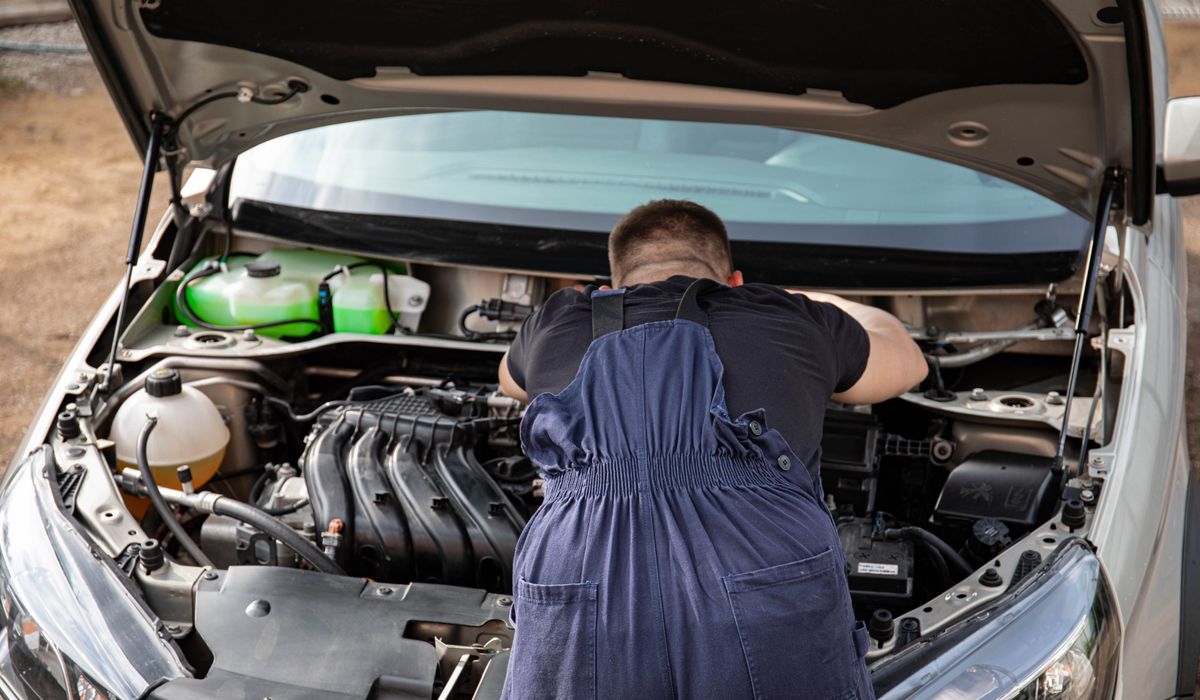
Fluids, Wipers and What's Under the Bonnet
Open the bonnet with a torch and a rag, and work through the following.
- Screenwash: top up with a proper concentration, not neat water. The washers must produce a clear jet onto the screen — a weak or blocked jet is a fail.
- Wiper blades: if the rubbers are split, hardened or leaving streaks, replace them. It's a ten-minute job and a very common fail point.
- Engine oil: check the level on a flat surface. Low oil strains the engine and can worsen emissions.
- Coolant: check the level in the expansion tank when cold, and look for crusty pink or white residue around hoses and joints.
- Brake fluid: ensure it's above the minimum mark. If it's dropped noticeably, get the system checked for leaks rather than just topping it up.
- Leaks: before you move the car in the morning, look at the ground for fresh oil, coolant or fuel spots.
Make sure the battery is secure in its tray and the terminals are clean and tight. A loose battery is both a fail and a breakdown waiting to happen.
Inside the Car and Around It
The tester will sit in your car, so make it easy for them.
- Check every seatbelt pulls out and retracts smoothly, with no fraying or cuts, and that the buckles click firmly.
- Test the horn, and make sure the driver's seat adjusts and locks in position.
- Confirm all mirrors are intact, clean and adjustable.
- Look at the number plates: characters must be the correct size and spacing, legible, and not obscured by dirt or a tow bar.
- Clear out clutter. A boot full of tools or a cabin full of loose items doesn't fail the test, but it slows the tester and can hide a problem.
- Check the VIN plate is readable, and have your V5C to hand if it's your first test with the car.
On the Day: Give Yourself the Best Chance
Book ahead — slots fill quickly around the end of the month, and the legal maximum fee for a car test is capped, so shopping around is more about convenience than price.
Take the car for a fifteen to twenty-minute run before the test so the engine is fully warm. This genuinely helps emissions results, especially on older diesels with particulate filters. Don't leave the car idling for ages outside the test centre; a proper drive is better.
If the car does fail, remember the retest rules. If you leave the vehicle at the test centre for repairs, or return it before the end of the next working day, you'll normally only pay for a partial retest. Leave it longer and you'll pay the full fee again.
Finally, keep a note of what was advised. Advisories aren't failures, but they're the tester telling you what will fail next year. Deal with them in the quieter months, keep the receipts, and next year's MOT becomes a formality rather than a worry.


Coding is used in almost all aspects of life and work now, be it directly or indirectly. It’s not just for companies in the tech sector. “An increasing number of businesses rely on computer code,
Coding is used in almost all aspects of life and work now, be it directly or indirectly. It’s not just for companies in the tech sector. “An increasing number of businesses rely on computer code,
Coding is used in almost all aspects of life and work now, be it directly or indirectly. It’s not just for companies in the tech sector. “An increasing number of businesses rely on computer code,